That shirt with the loose button. The jeans with a tiny seam gap at the knee. The jacket with a stuck zipper. Most of what lands in the donation pile or, worse, the trash, needs ten minutes of repair, not replacement. Check the garment before you write it off.
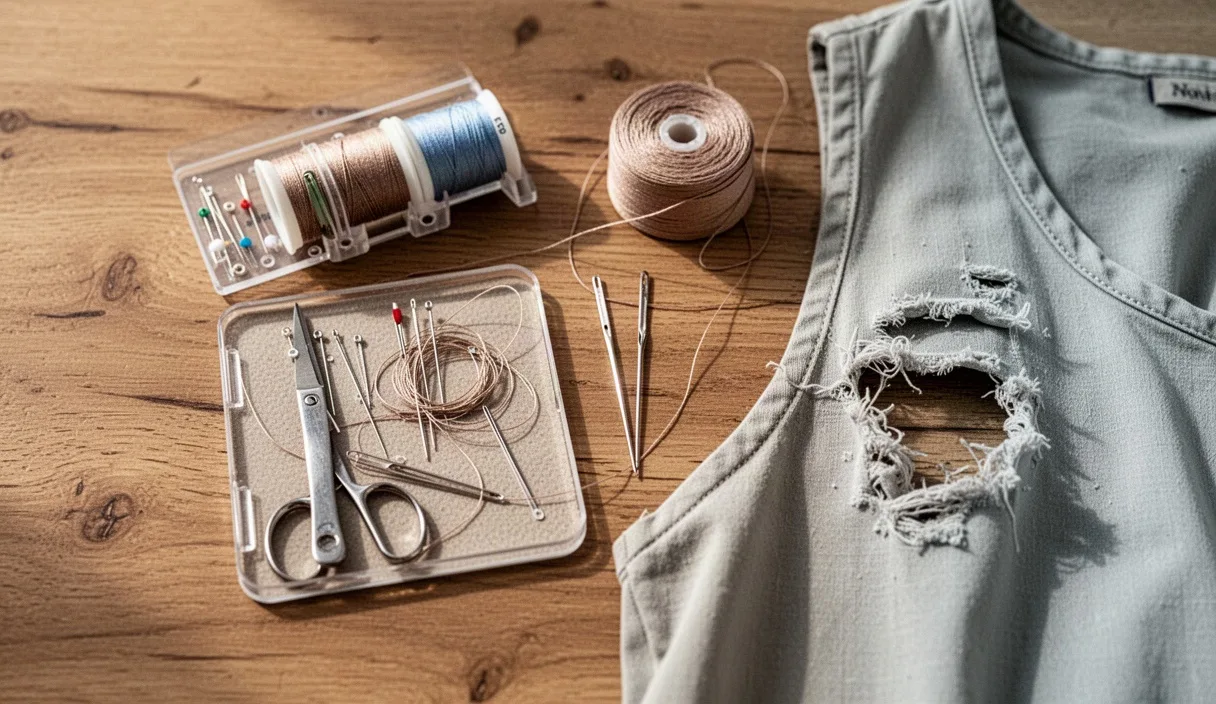
This checklist walks through the five most common points of failure on clothing: seams, fasteners, zippers, and fabric itself. Each section tells you what to check, what tools you need, and when the damage is actually beyond a home fix. Keep a basic repair kit on hand (needle, polyester thread in black and white, safety pins, fusible bonding tape) and most of this list takes under 20 minutes per item.
Why most discarded clothes are still fixable
A 2022 study by WRAP (the UK's Waste and Resources Action Programme) found that the average garment is discarded after roughly 2.2 years of use, while the materials themselves often have a usable life of 5 to 10 years depending on fabric type. The gap between those numbers is largely repairable damage: popped seams, missing buttons, broken zipper pulls, small tears.
Clothing doesn't fail all at once. It fails at stress points: armpit seams, crotch seams, button placements, zipper sliders, pocket corners. These are localized failures. A pair of trousers with a split back seam is not a ruined pair of trousers; it's 15 minutes with a needle and matching thread.
Before tossing anything, lay it flat under good light and check these five zones in order: seams, buttons and fasteners, zippers, fabric surface, and hems. Most garments fail in only one or two of these zones. Fixing that single zone often restores the whole piece to wearable condition.
Cost is the other argument. A tailor-quality seam repair runs $8 to $15 at most alteration shops. A replacement garment of similar quality costs $30 to $150 or more. Even paying a professional, repair is usually cheaper than buying new.
Checking seams and stitching first
Seams are the single most common failure point and also the easiest to fix. Turn the garment inside out and run your fingers along every seam: side seams, shoulder seams, inseams, armholes. Look for any gap wider than a quarter inch where stitching has pulled loose or thread has snapped.
A popped seam with intact fabric on both sides is a five-minute hand-sew job. Thread a needle with thread matching the garment's original color, and use a backstitch: push the needle through both fabric layers, back half a stitch length, then forward a full stitch length. Repeat along the gap, tying off with two small knots at the end.
If the seam allowance itself has frayed away (less than a quarter inch of fabric remaining past the stitch line), hand-sewing alone won't hold under stress. In that case, reinforce with fusible interfacing tape ironed to the inside before stitching, or take it to a machine.
- Straight seam, clean gap: hand backstitch, 5 to 10 minutes
- Curved seam (armhole, crotch): sewing machine recommended for durability
- Frayed seam allowance: add fusible tape before stitching
- Topstitching come loose on jeans: use heavy-duty thread, not regular polyester
One detail that gets missed: thread weight matters. Standard sewing thread (around 40 weight) works for shirts and dresses, but denim and canvas need upholstery or jean-weight thread (around 20 to 30 weight), or the repair will pop again within a few wears.
Button and fastening repairs
A missing button is the single most "wasteful toss" in clothing. It's a two-minute fix if you have a spare button, and most garments come with one sewn inside a seam or attached to a care tag when purchased.
To reattach a button: thread a doubled strand of matching thread, push through the fabric and one button hole, then down through the opposite hole, repeating four to six times. For four-hole buttons, stitch in an X or parallel-lines pattern matching the original. Leave a small gap between the button and fabric (slip a toothpick or matchstick under the button while sewing) so there's room for the fabric to sit when buttoned, called a "thread shank."
No matching replacement button? Check the inside hem or an inconspicuous spot, like a back pocket, for an extra button many manufacturers include. If none exists, swap a button from a less visible spot on the same garment, such as a cuff on a shirt that's normally worn with sleeves rolled.
Snaps and hooks fail differently. A snap that no longer clicks shut usually has a bent prong, not a broken piece; press the female side flat with pliers to tighten the grip. Hook-and-eye closures that gap open can be resewn tighter by moving the eye loop 2 to 3 millimeters closer to the edge.
Zipper problems and what's actually broken
Zippers get blamed for more garment deaths than they deserve. Most "broken zipper" problems are actually one of three specific issues, and only one of them requires full zipper replacement.
| Symptom | Likely cause | Fix |
|---|---|---|
| Slider won't stay up, teeth gap open below it | Slider is worn or spread too wide | Pinch slider gently with pliers to narrow it, or replace slider only |
| Zipper pull has snapped off | Pull tab broken, slider intact | Attach a replacement pull or loop of cord through the slider hole |
| Teeth are missing or bent beyond 1 cm section | Physical damage to the zipper tape | Full zipper replacement needed |
| Zipper is stuck, won't move | Fabric caught in teeth, or corrosion | Work fabric free gently, lubricate teeth with a graphite pencil or candle wax |
Replacing just the slider is far cheaper and faster than replacing the whole zipper. Sliders cost $1 to $3 and can often be swapped without removing the zipper tape, by prying the old slider off the top stop with pliers and feeding a new one on from the bottom.
Full zipper replacement is a machine job for most people, best left to a tailor unless you're comfortable unpicking and resetting a zipper tape. Expect to pay $15 to $25 for a standard jacket or trouser zipper replacement at a tailor shop.
Fabric damage: patch, darn, or replace
Not every hole means the end. The decision between patching, darning, and giving up depends on size, location, and fabric type.
Darning works for small holes and thin worn spots, typically under 1 inch across, especially in knits like sweaters and socks. Use a darning needle and thread woven in a grid pattern across the gap, essentially rebuilding the fabric structure thread by thread. This is the traditional fix for sock heels and sweater elbows.
Patching works for larger holes, tears, or areas with surrounding wear, especially in woven fabrics like denim and canvas. Iron-on patches (fusible on one side) are the fastest option: cut a patch slightly larger than the hole, round the corners to prevent peeling, and iron at the fabric's recommended heat setting for 15 to 20 seconds per side. Sew-on patches last longer under heavy wear, such as knee or elbow patches on work clothes.
- Small moth hole in a sweater: darn it, 10 to 15 minutes
- Knee hole in jeans: iron-on denim patch on the inside, visible mending stitch on top for durability
- Burn mark or bleach spot: usually not repairable; consider dye, embroidery cover, or appliqué
- Tear longer than 3 inches along a stress point: patch plus reinforcement stitching, or professional repair
Fabric type changes the math. Natural fibers like cotton and wool take darning and hand stitches well. Synthetic blends, especially anything with spandex or elastane, stretch unevenly around a patch and are harder to repair invisibly; a professional tailor with a walking-foot machine handles these more reliably.
When to call a professional tailor
Home repair has limits. Some damage needs equipment or skill most people don't have at home, and attempting it risks making the garment worse.
Take it to a tailor if: the garment is lined (jackets, coats) and the damage affects both the outer shell and the lining, the repair involves a curved seam under structural stress (crotch, armhole, waistband), the fabric is leather, suede, or a delicate material like silk chiffon, or the zipper replacement involves a fly-front on trousers, which requires precise machine topstitching.
A tailor visit is also worth it for anything with sentimental or financial value above roughly $50, since a $10 to $20 repair fee protects a larger investment. Ask the tailor for a cost estimate before committing; most will quote on sight for simple jobs like hemming, button replacement, or seam repair.
For anything involving suspected mold, chemical stains, or fabric that's structurally degraded (thin enough to see light through in multiple spots), a repair may not hold regardless of who does it. In that case, the garment has reached genuine end-of-life, and recycling through a textile collection program is the better option.
Common mistakes
- Using the wrong thread weight: standard thread on denim or canvas will snap again within weeks.
- Skipping a knot or backstitch at the end of hand sewing: the repair unravels after one wash.
- Ironing on a patch without checking fabric heat tolerance: synthetic blends can melt or scorch under high heat.
- Tossing a garment over a missing button instead of checking the hem or inside seam for a spare.
- Forcing a stuck zipper: this usually bends the teeth further and turns a simple fix into a full replacement.
Next steps
Build a basic repair kit before the next garment fails: a few needles, polyester thread in black, white, and navy, a handful of safety pins, iron-on fabric patches in denim and a few neutral colors, and a spare zipper slider or two. This covers roughly 80% of common repairs without any special skill.
Go through the checklist in order, seams, buttons, zippers, fabric, every time something gets set aside as "maybe trash." Most items will need one fix, not five. For anything beyond hand-repair skill or involving lined garments, leather, or fly-front zippers, get a quote from a local tailor before deciding to discard; the repair cost is almost always lower than replacement.