Rectangle body shape means shoulders, waist, and hips fall within an inch or two of each other. No major curve differential. Dressing it well isn't about faking an hourglass, it's about adding visual breaks so the eye stops reading you as one straight column.
Five rules fix most rectangle-shape wardrobe problems: belt placement, silhouette choice, fabric weight, layering strategy, and a short list of cuts to skip. Each one below includes exact measurements, garment examples, and the reasoning behind the fix.
What defines a rectangle body shape
A rectangle shape shows less than a 9-inch difference between bust, waist, and hip measurements. If your hips measure 38 inches, your waist measures 35, and your bust measures 37, you're in rectangle territory. Shoulders typically align with hips rather than flaring out or narrowing in.
Stylists sometimes call this the "H shape" because the torso reads as one vertical block with minimal waist indentation. It's one of the most common body shapes, showing up in roughly a third of adult women according to sizing surveys used by ready-to-wear brands like ASOS and Old Navy for their fit models.
The goal isn't to manufacture curves that aren't there. It's to create optical breaks, horizontal lines, texture changes, and layered shapes, that give the torso visual structure. Think of it as adding punctuation to a sentence that currently has none.
- Bust, waist, hip measurements within 9 inches of each other
- Shoulders roughly aligned with hip width
- Minimal natural waist indentation
- Often paired with a longer torso relative to leg length
Rule one: belt placement for definition
A belt works only if it sits at the narrowest point of your torso, not necessarily your natural waistline. For most rectangle shapes, that narrowest point sits an inch or two above the belly button rather than exactly at it. Measure by bending slightly to one side; the crease that forms marks your actual narrowest point.
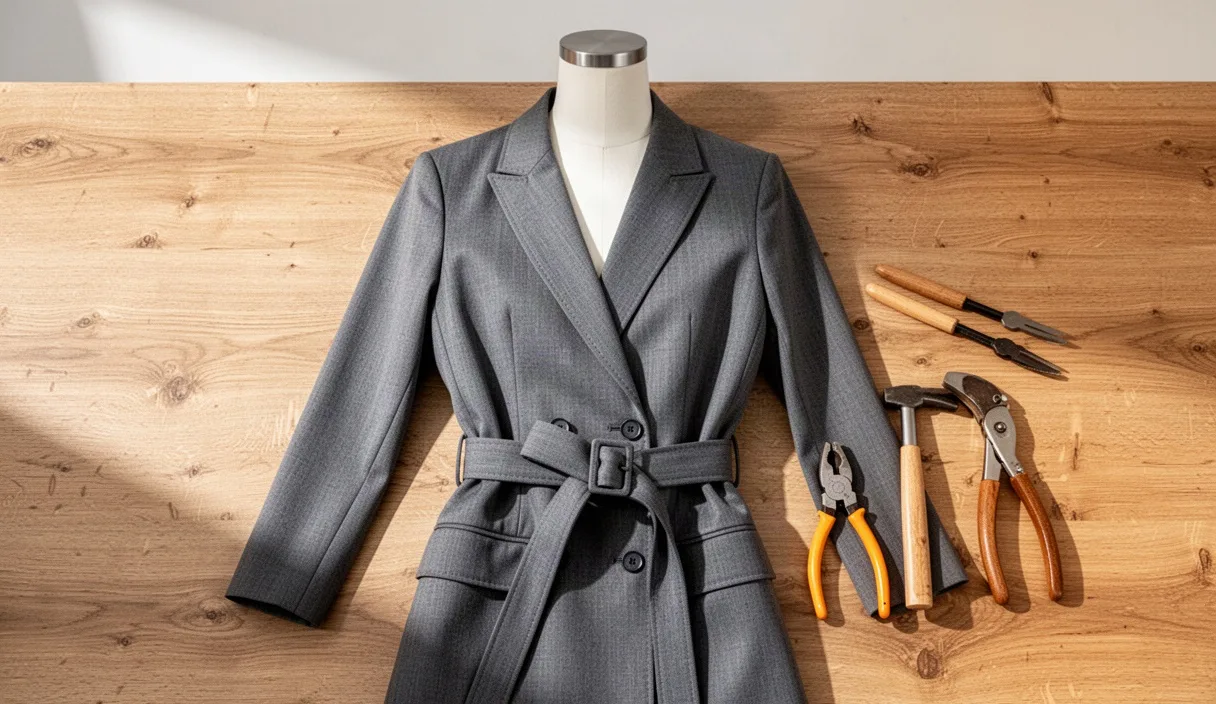
Width matters more than people think. A 2-inch belt cinches and creates a visible waist break. A skinny half-inch belt gets lost against a straight torso and does nothing. Go with 1.5 to 2.5 inches for most dresses and coats, and choose a buckle or knot detail that adds a bit of bulk, since bulk reads as shape from a distance.
Belt over structured pieces, not soft knits that will just bunch. A trench coat, a shirtdress, or a wrap cardigan all take a belt well because the fabric holds its line on either side of the cinch. A thin jersey dress will bunch unevenly and erase the effect you're going for.
| Belt width | Best garment | Effect |
|---|---|---|
| 0.5 to 1 inch | Fitted trousers, slim dresses | Minimal, often invisible on rectangle shapes |
| 1.5 to 2 inches | Shirtdresses, trench coats | Clear waist definition |
| 2.5 to 3.5 inches | Oversized cardigans, dusters | Strong structural break, best for tall frames |
Rule two: peplum and wrap silhouettes
Peplum tops and jackets add flare right at hip level, which gives the eye a stopping point between torso and leg. Look for a peplum that flares at least 3 to 4 inches out from the body; anything subtler just looks like a slightly flared hem and won't register as shape.
Wrap dresses and wrap tops do double duty: the diagonal fold across the torso creates an angled line where your body has none, and the self-tie belt handles rule one at the same time. A wrap dress with a skirt that falls just below the knee tends to work better on rectangle shapes than a wrap mini, since the longer hem balances the proportion of a straight torso.
Faux-wrap styles, where the fabric is sewn to look like a wrap but doesn't actually tie, give the same diagonal line without needing to adjust a belt all day. Brands like Diane von Furstenberg built an entire category around this silhouette specifically because it flatters a wide range of torso shapes, including rectangle.
- Peplum flare: minimum 3 inches out from the hip for visible effect
- Wrap dress hem: knee-length or below works better than mini for this shape
- Faux-wrap tops: same visual line, less daily adjustment
- Avoid peplums that sit higher than natural waist; they shorten the torso instead of defining it
Rule three: fabric with structure, not stiffness
Structured fabric holds a shape away from the body slightly, which is exactly what creates the illusion of curve. Ponte knit, midweight cotton twill, and wool blends with a bit of body all do this. Fully stiff fabric, like a heavy canvas or a thick brocade, does the opposite: it stands away from the body in a straight line and reinforces the rectangle rather than softening it.
A good test: hold the fabric at one edge and let it hang. If it falls in a soft curve within 4 to 6 inches, it has the right amount of structure. If it stands out stiff and flat, it's too rigid for this body shape. If it collapses into a limp drape with no shape at all, it's too soft and will cling to the straight line of the torso.
Ponte knit blazers are a reliable example. They hold a defined shoulder and waist shape without the stiffness of a traditional suit jacket. Midweight cotton poplin shirts, the kind with a little bit of crispness, work the same way for tops. Avoid jersey knit tops thinner than about 200 grams per square meter; they tend to cling and show the straight line rather than disguise it.
For bottoms, a wool-blend trouser with 2 to 3% elastane holds a crease and a slight curve at the hip better than a fully stretch legging fabric, which goes flat against a straight hip line.
Rule four: layering to break straight lines
Layering adds horizontal and diagonal breaks that a single garment can't. A cropped jacket over a longer top creates two different hemlines, which interrupts the straight vertical read of a rectangle torso. Aim for at least a 4-inch difference between the two hem lengths so the layering is visible rather than accidental.
Open-front cardigans and unbuttoned blazers work because the open edges create two vertical lines running down either side of the body instead of one flat panel across the front. This narrows the visual width of the torso even without any actual waist shaping underneath.
Scarves, long necklaces, and draped layers all add the same kind of diagonal or curved line. A scarf knotted asymmetrically, rather than centered, breaks the straight line across the collarbone and chest more effectively. Statement necklaces that sit below the collarbone rather than tight at the throat do similar work for the upper torso.
Three-layer outfits, think camisole, open cardigan, then a scarf, tend to outperform two-layer outfits for this body shape specifically because each layer adds its own edge and line. Keep colors tonal across the layers if you want the effect to look intentional rather than busy.
Rule five: what to avoid entirely
Boxy, unstructured shift dresses with no waist seam are the single worst offender for rectangle shapes. They add fabric straight down from shoulder to hem with zero break, which exaggerates the column effect rather than softening it.
Skip anything described as "straight-cut" or "column silhouette" unless it comes with a defined waist seam or an added belt. Also avoid boxy cropped jackets that end exactly at the natural waist with a straight hem; they create a hard horizontal line at the widest part of a straight torso instead of a flattering break.
- Shapeless shift dresses with no waist seam
- Boxy cropped jackets with a straight, unshaped hem
- Stiff, heavy fabrics that stand away from the body in a flat plane
- Skinny belts under half an inch wide
- High-necked tops paired with straight-leg bottoms and no waist break anywhere in the outfit
Common mistakes
Wearing a belt at the natural waist without checking for the actual narrowest point is the most frequent error; it often sits in the wrong spot and flattens rather than defines. Another common mistake: choosing peplum tops that flare less than 2 inches, which simply disappear visually instead of creating a hip break.
People also tend to over-layer with pieces of identical length, two tops that both hit mid-hip, for example, which cancels out the benefit of layering altogether. And many stick to one fabric weight throughout an entire outfit, missing the chance to mix a structured jacket with a softer blouse underneath for contrast.
Next steps
Start by measuring your own bust, waist, and hip to confirm the rectangle classification; a soft tape measure and five minutes is all it takes. Then audit one section of your closet, dresses or jackets, and sort pieces by whether they have a waist seam, a flare, or a belt loop.
Try one wrap dress and one 2-inch belt over an existing structured piece before buying anything new. If budget allows, a tailor can take in the side seams of a boxy dress to add a waist curve for roughly 15 to 30 dollars, which is often cheaper than replacing the garment. For fit questions specific to your proportions, a department store tailor or personal stylist consultation, often free at mid-range retailers, can confirm sizing before you commit to a bigger wardrobe change.